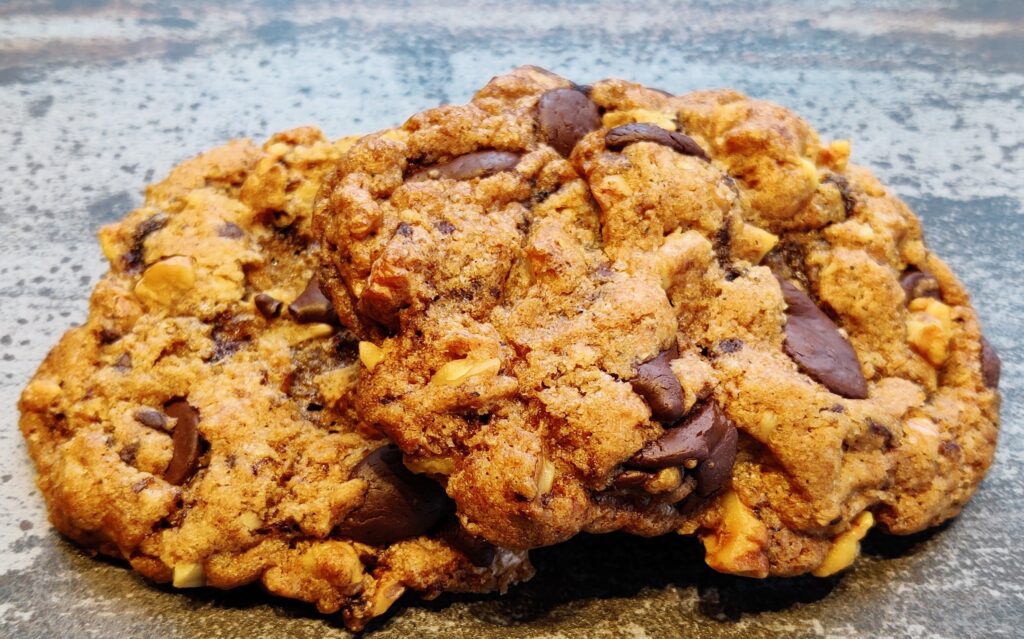
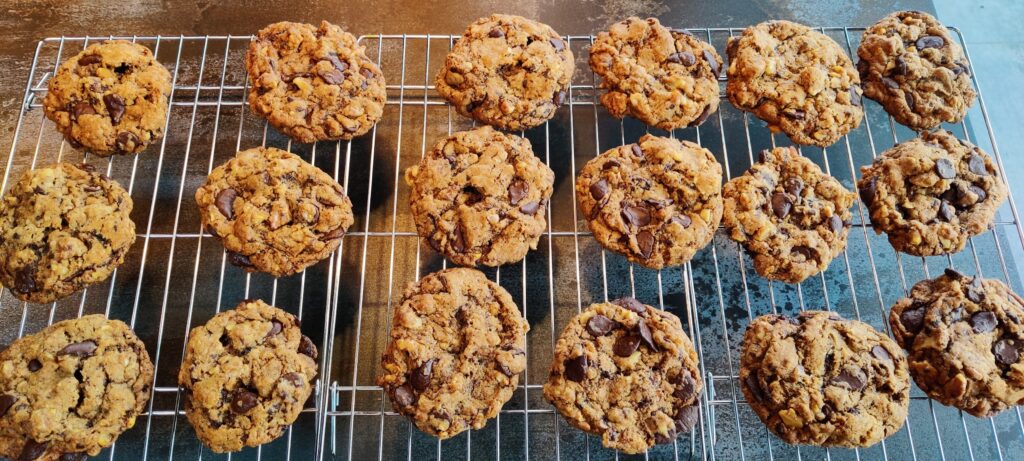
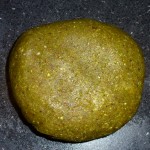
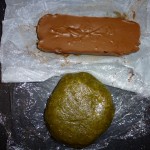
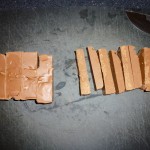
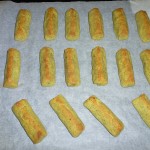
Valnødde-chokolade-cookies med et nip chili

Cookies med lidt ekstra af det hele, så hver bid er fyldt med smag. Brug lidt chili for at give et hint af varme – du må eksperimentere dig frem til hvad der lige præcis er nok for dig. Jeg synes at den bare skal anes i dem her.

Ingredients: 

300 gr grofthakkede valnødder

300 gr hakket, dark chocolate (eller dråber)

275 gr hvedemel

150 gr hvidt sukker

150 gr brun farin

1 toptsk bagepulver

1 toptsk natron

1 toptsk vanillapulver – not vanilla sugar

1 toptsk fint salt

A little chili powder

.

1½ dl neutral olie

½ dl of water

2 spsk æblecidereddike

.

How to: 

Rør de tørre ingredienser sammen i en stor skål.

Rør de våde ingredienser sammen i en lille skål.

Sæt ovnen på 180 grader varmluft.

Rør nu alle ingredienserne sammen i den store skål. Det bliver en meget tyk dej som ikke hænger vanvittigt godt sammen.

Læg bagepapir på to bageplader.

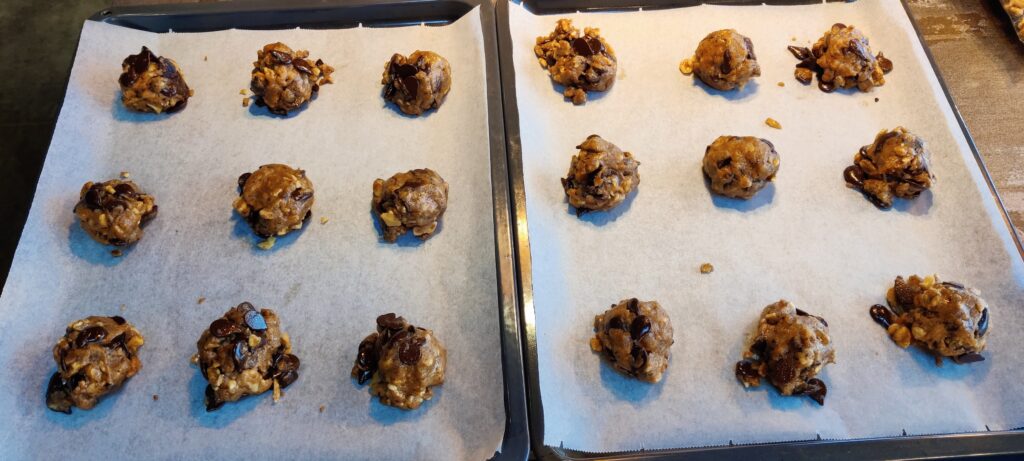
Form 18 kugler/klumper  af dejen og læg på bagepladerne – fordel med god afstand imellem dem – 9 på hver plade.

Bages i ca 14 – 16 minutter midt i ovnen, indtil de er gyldne og sprøde på overfladen. (I min ovn er det 16 minutter).

Lad dem køle helt – først lidt på pladen (10 minutters tid) og så på en rist, inden du spiser dem.

.

Tips:

Hvis du ikke kan finde vanillapulver (sælges bl.a. hos Vanillamart, Mill & Mortar, Urtekram og hos Rawfoodshop ) – så kan du evt. bruge vanillaessens i stedet. Hæld det i givet fald i den flydende del af opskriften, inden du blander det hele.

Hvis du har lyst, kan du også eksperimentere med at tilsætte andre krydderier, i.e.: instant coffee, cinnamon, pumpkin spice mix m.m. 

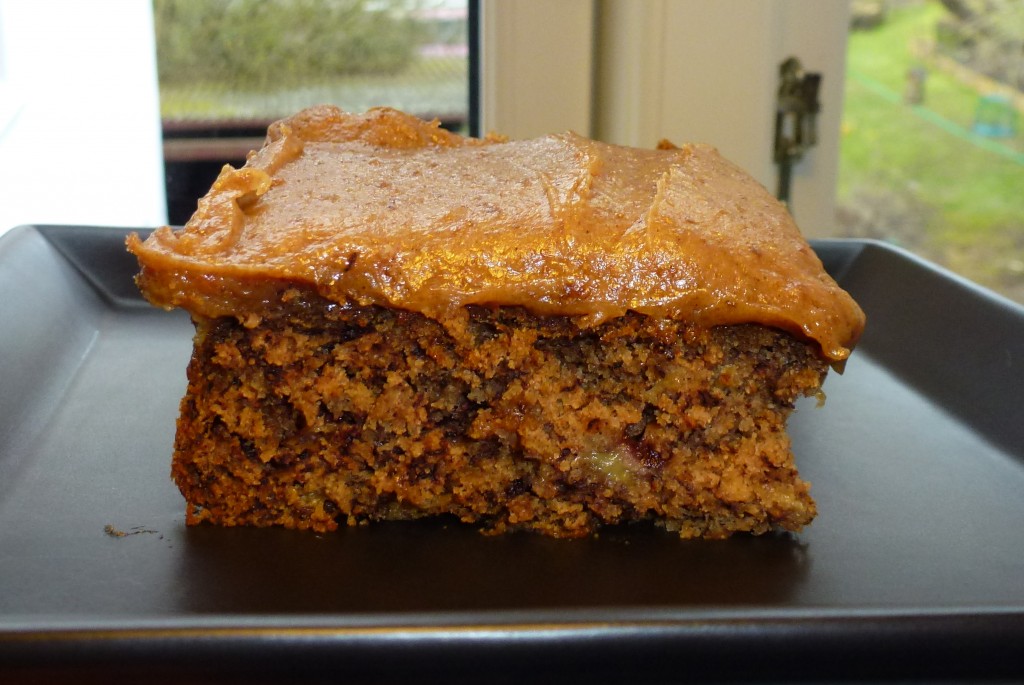
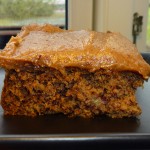
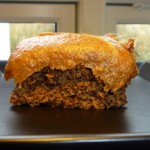
Banana cake with chili and thick caramel topping

A delicious, spongy banana cake with chili and thick, lightly salted, chilli caramel flavored topping. It tastes great both freshly baked and after being cooled down in the refrigerator and can easily be varied with different toppings and / or spices, nuts etc..

Banana cake with chili and thick caramel topping - et godt stykke

Ingredients – the cake:

300 g. good quallity wheat flour (Ø) or for example. chickpea flour if you do not eat wheat

60 gr Sukrin+ (sweetener made from erythritol and stevia – the amount here is equivalent to 120 gr sugar)

2 tsp. baking soda w. small top

2 tsp. baking soda w. small top

1 tsp. salt w. small top

1 tsp. vanilla powder w. small top

1 tsp. cinnamon w. small top

A little chili powder or freshly chopped chili to taste

100 gr. coconut oil

6-7 large or 8-10 small well ripe bananas

2 tablespoons. lemon juice or apple cider vinegar (activates the baking soda)

Caramel Topping:

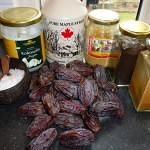
500 gr of dates

1 dl water (use soak water from the dates, hvs possible)

200 gr smooth peanutbutter

1 teaspoon salt

chili to taste, fresh or powder

50 g coconut oil

1 dl maple syrup

1 tsp vanilla powder

How to – cake:

Turn on the oven at 175 degrees celsius.

Line a form of approximately 25 x 35 cm with baking paper.

Mix flour, Sukrin , baking powder and -soda, salt and spices in a large bowl.

Melt coconut oil at very low heat .

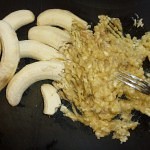
Mash the bananas thoroughly – easily done e.g.. with a fork on a cutting board – or use the food processor. They must be almost liquid, since they are the only, along with coconut oil and the little bit of acid which is' liquid’ in the recipe. Put them in the bowl with melted coconut oil and vinegar or lemon juice.

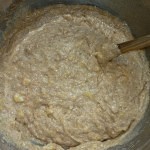
Stir the batter well.

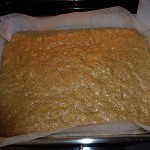
Fill the cake batter into the form and smooth out the surface. Bake approximately 45 minutes.

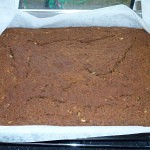
Remove cake from oven, place it on a wire rack and let it cool completely.

This portion yields about 12 large pieces or 20 smaller.

How to – caramel topping:

Melt the coconut oil over low heat.

If the dates are quite soft, skal de udblødes mindst 1 time i varmt vand, Pour boiling water over so they are covered and leave them on the kitchen table. Then pour water from – gem 1 dl til næste skridt ( the rest can possibly used in a smoothie or other).

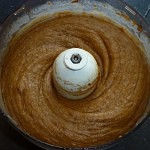
First blend the the dates in the food processor while slowly adding water.

Add remaining ingredients and blend until the texture is smooth and a like a very thick caramel sauce.

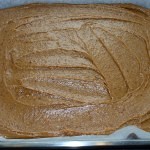
Fordel karameltopppingen over den afkølede kage.

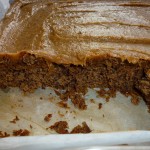
Can be eaten immediately or after setting in the refrigerator for a while, the caramel toppping will firm up a bit in the fridge.

Store the cake refrigerated.

Tips:

Try . to spice the cake with a little nutmeg or mace – that suits the banana taste really well.

You can also replace wheat flour with gluten free flour or ex. defatted coconut or almond flour.

Try adding a little dried berries – i.e.. cranberries, cherries or blueberries. Fresh can also be used, of course, – but it makes the cake a little more wet.

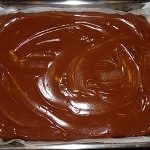
Instead of caramel topping you can use e.g.. the chocolate topping here: Chocolate Topping

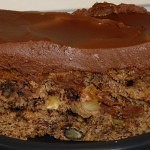
If you use chocolate topping it may be nice to add whole or coarsely chopped nuts in the cake batter. It may be e.g.. walnuts, pecans, hazelnuts, pistachios, almonds, etc..

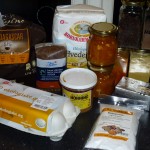
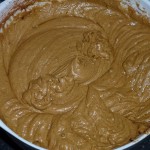
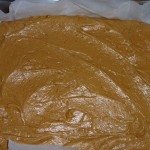
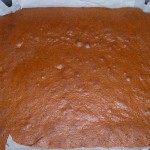
Banana cake with chili and thick caramel topping - Ingredients Banana cake with chili and thick caramel topping - de tørre ingredienser Banana cake with chili and thick caramel topping - mos bananerne med en gaffel Banana cake with chili and thick caramel topping - dejen er blandet Banana cake with chili and thick caramel topping - klar til en tur i ovnen Banana cake with chili and thick caramel topping - færdigbagt

Caramel Topping:

Caramel Topping - Ingredients Caramel Topping - blendet og klar Caramel Topping - på kagen Banana cake with chili and thick caramel topping - der må smages Banana cake with chili and thick caramel topping - et godt stykke Banana cake with chili and thick caramel topping - med ekstra topping

Cake with chocolate topping after this recipe: Chocolate Topping

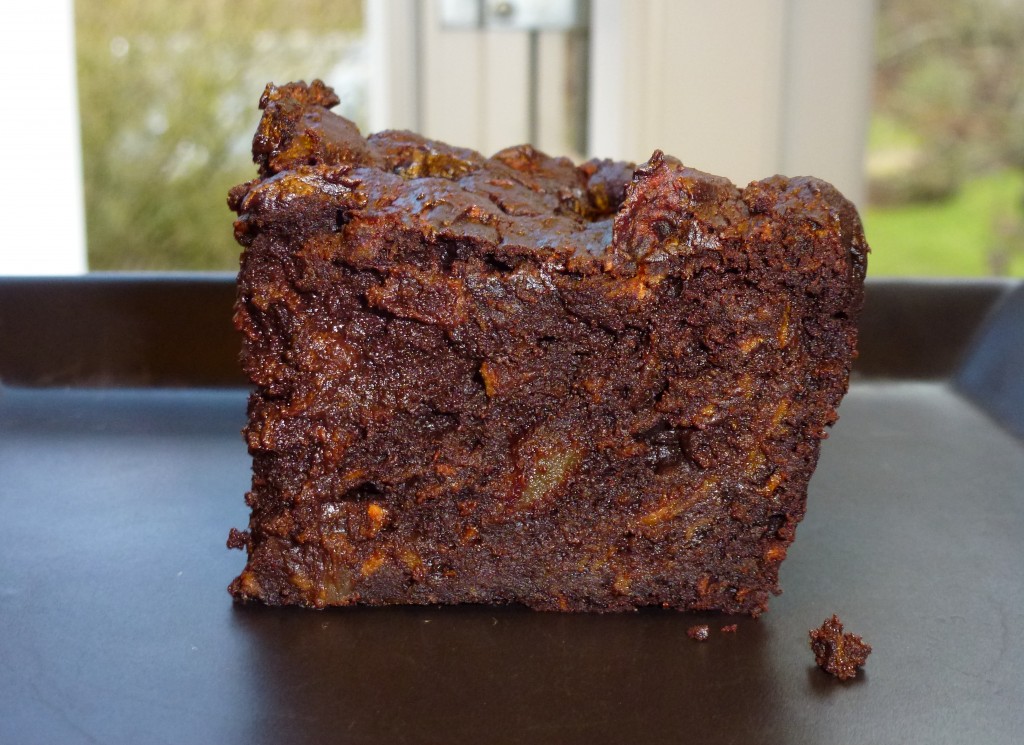
med chokoladetopping - 1 med chokoladetopping - 2 med chokoladetopping - 3 med chokoladetopping - 4 med chokoladetopping - 5

Chocolate-praline cake with chili

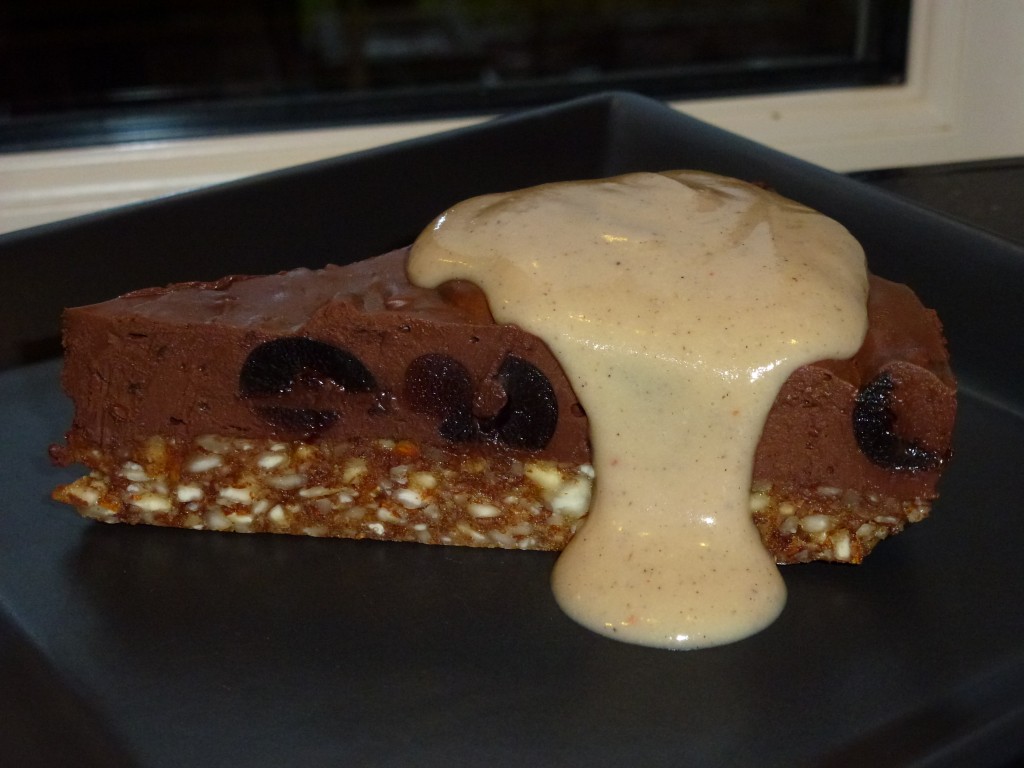
Spongy, praline-like, super delicious chocolate cake. Eaten in small servings, for example as. dessert – perhaps with a scoop of good vanilla icecream and fresh fruit or berries – or with cup of strong coffee anytime. The sweet potatoes – which in reality isn't potatoes at all – helps by adding sweetness and make the cake spongy and pralinelike, and makes sure it contains somewhat less calories than it tastes like. Cold from the fridge is like firm praline in the middle, warm is it like a real spongy chocolate'pudding'dessertcake.

Chocolate-praline cake with chili - serving

Continue reading

Fruit / berry crumble with chili

English here: Fruit / berry crumble with chili

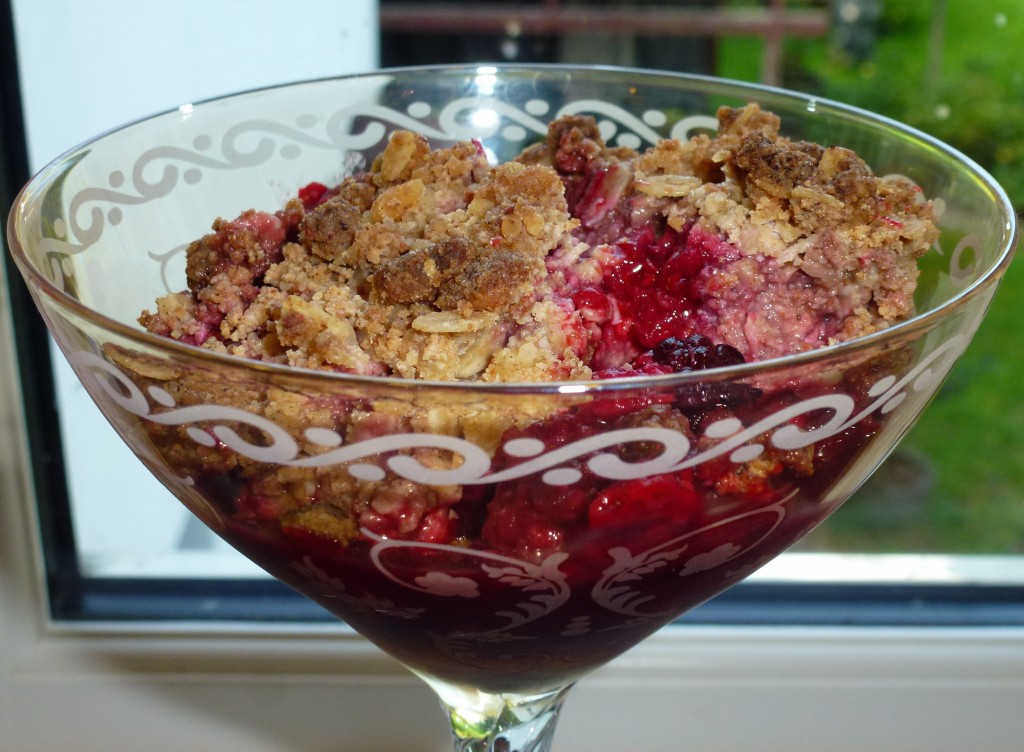
The classic crumble in a new version, discreetly flavored with vanilla and chili – and made with sweet dates, if you like. How discreet the seasoning is, will be up to you – I think it depends on what fruits / berries are used how much it can take.

Crumble med chili - ready-to-serve

Continue reading

Almond-Mazarin with chili and fruit or berries

English here: Almond-mazarin with chili and fruit or berries

The first of a series of cakes which I am about to develop, which does not contain white sugar, butter and eggs – but lots of other goodies instead . There is no compromise on the taste and I try to fill them with my favorite ingredients.

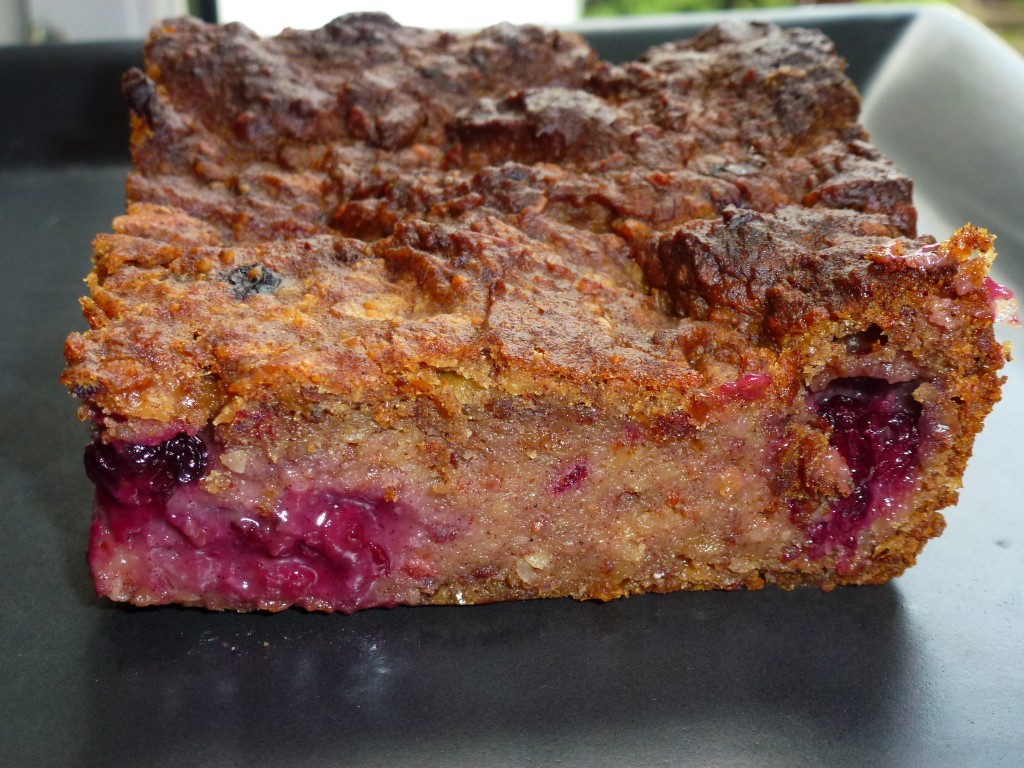
Here's my idea of ​​a really spongy and 'heavy' almond mazarin cake which gets a fresh tinge from some nice berries or other fruit. A discreet chili spice gives an extra touch, I believe.

Almond-Mazarin with chili and fruit or berries

Continue reading

Appelsinlagkage med bær og chili (will be translated upon request)

En frisk version af lagkage hvor du selvfølgelig selv bestemmer styrken på chilierne. Jeg synes at det er lækkert at bruge lidt hot frisk chili eller chilipulver i bundene og så en mild frisk chili i fyldet. Brug endelig friskplukkede bær når de er sæson – og variér med lige hvad du kan lide.

Appelsinlagkage med bær og chili (will be translated upon request) - der er serveret


Continue reading

Rhubarb-orange-chili-cheesecake

A very fresh and spicy cheesecake with a loads of taste in every little bite. The oranges complements the delicious creamy rhubarb filling with a little extra acidity and freshness and the chili provides a surprising extra dimension to the cake.
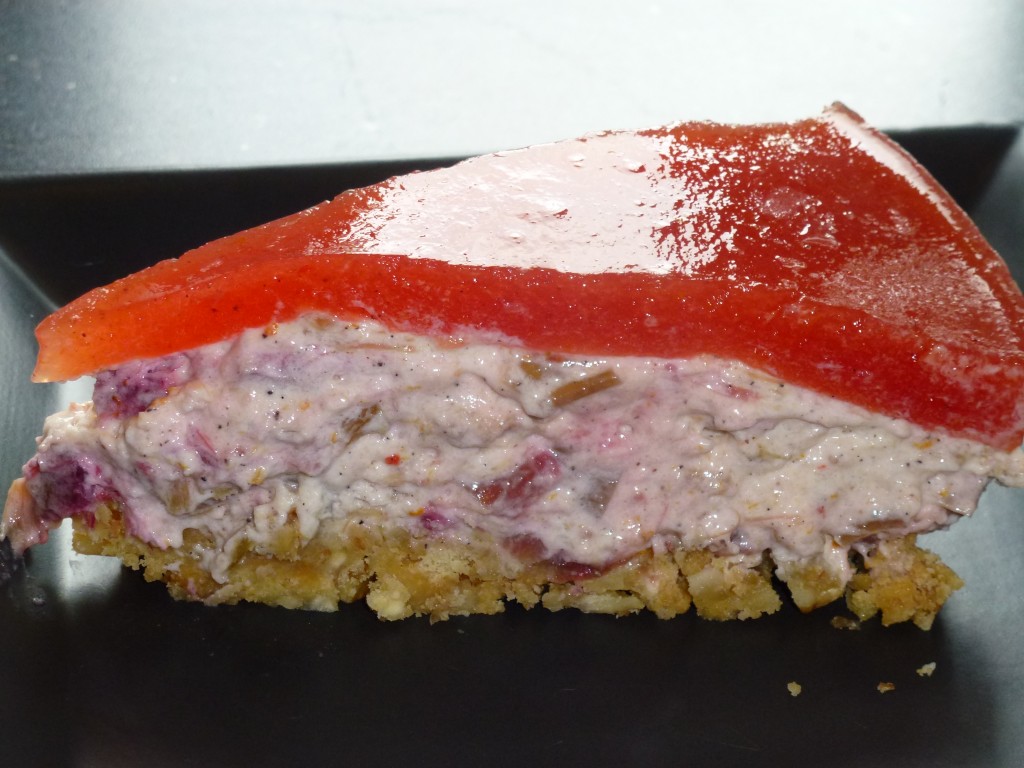
Rhubarb-orange-chili-cheesecake

Ingredients for rhubarb compote:

1 kg rhubarb stalks

350 g raw cane sugar

fresh chopped chilli to taste

1 tsp vanilla powder (or seeds from 1 pod or 3-4 tsp vanilla sugar)

finely grated zest from 3 – 4 organic oranges

Ingredients for base:

75 g melted butter plus a small amout for greasing the springform pan

150 g coarse grained bisquits of a kind

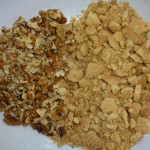
100 g coarsely chopped walnut kernels

Ingredients for filling:

300 g cream cheese (i.e. Philadelphia)

2 dl cream 38%

2 dl creme fraiche 18%

2 egg yolks

2 egg whites

100 g raw cane sugar

fresh chopped chilli to taste

1 tsp vanilla powder (or seeds from 1 pod or 3-4 tsp vanilla sugar)

8 sheets of gelatin

Ingredients for jelly:

juice from 3 – 4 organic oranges

juice from the rhubarb compote

2 – 4 tbsp liquid honey

6 sheets of gelatin


How to – rhubarb compote:

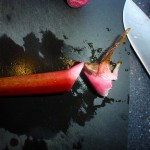
Remove leaves from rhubarbs and rinse the stalks well. There is a small membrane near the 'feet', which can be carefuly pulled or scraped of. You will need about 1 kg cleansed stalks. Part them lengthwise if they're very thick. Cut them in approx ½ – 1 cm pieces. Put the rhubarbs in a baking pan with the sugar, add finely chopped chili, finely grated orange zest and vanilla. Mix everything well.

Bake in preheated oven set at 200 degrees celcius for about 20 minutes until tender (rhubarbs soft, but still in whole pieces). Flip them around in the pan in 5 minutes intervals. Take out baking pan and let cool completely on the kitchen table, so that the rhubarb pieces cools down covered in their own juice.

How to – base:

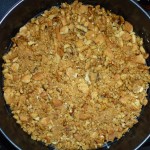
Crush the biscuits as coarse or fine as you like them and mix them with walnuts and melted butter.

Press mixture into bottom of a greased springform pan. Use your fingers or the backside of a ladle.

Let it set in the refrigerator for ½ hour.

How to – filling:

Put the rhubarbs in a sieve with a bowl underneath and leave them to drip 'dry' (save the juice for making the jelly) – make small pancake flips a few times while draining, so that the rhubarbs will be gently turned and drained all over.

Soak gelatin sheets in cold water for 8 – 10 minutes.

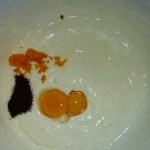
Whip cream cheese, cream, creme fraiche and sugar until it reaches the consistensy of lightly whipped cream. Add egg yolks, chili and vanilla. Don't mix it in until the gelatin is added.

Remove the gelatin from the water and melt it over low heat with the water that clings to it.

Stir gelatin in the mix in a thin stream. Stir quickly while doing so.

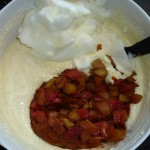
Whip egg whites untill very stiff and fold them into the mix together with the drained rhubarb pieces. Pour the mix into the springform pan and flatten the surface gently. Cover with cling film.

Refridgerate the cake for at least a couple of hours – maybe until next day.

If you let it cool until the next day, then wrap the oranges one by one in clingfilm or put them in an airtight box and keep them in the fridge. Also save the rhubarb juice in the fridge.

How to – jelly:

Soak gelatin sheets in cold water for 8 – 10 minutes.

Squeeze the oranges and mix the juice with rhubarb juice and honey.

Remove the gelatin from the water and melt it over low heat with the water that clings to it.

Stir gelatin in the juice mix in a thin stream. Stir quickly while doing so. Wait 5-10 minutes while the juice is setting just a bit so that the consistency is like syrup.

Pour the mix gently over the cake and refrigerate again for a minimum of 4 hours until serving. Jelly must be easy to cut, not runny.

Tips:

I use 1 Habanero for each of the rhubarb compote and the rest of the filling – that is 2 in all.

Use a springform pan larger than 25 cm if possible. I used 25 cm in the photos – in my first making of this cake - and it was filled to the brim and therefore almost impossible to balance with until jelly stiffened. If your largest springform pan is 25 cm, you can save a few dl of the filling in a small bowl of its own, when making the cake, all will be well – and you can use the extra filling for a bonus dessert.

Use organic or pasteurized eggs. Organic will taste the best (but be aware of what the health issues are in your country when using raw eggs).

The filling can be cut with at knife, it is very soft though, almost like a mousse. If you prefer a more firm texture, then use a few extra sheets of gelatine.

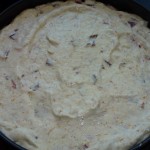
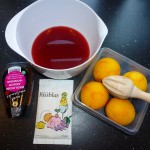
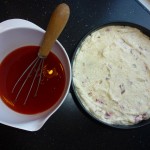
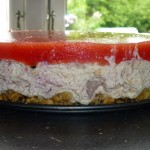
Rhubarb-orange-chili-cheesecake - ingredients Rhubarb-orange-chili-cheesecake - det nederste af fødderne skæres af rabarberne Rhubarb-orange-chili-cheesecake - de snittede rabarber Rhubarb-orange-chili-cheesecake - med de andre smagsgivere Rhubarb-orange-chili-cheesecake - før bagning Rhubarb-orange-chili-cheesecake - after baking Rhubarb-orange-chili-cheesecake - valnødder og kiks til bunden Rhubarb-orange-chili-cheesecake - base Rhubarb-orange-chili-cheesecake - klar til at blande fyld Rhubarb-orange-chili-cheesecake - fyldet blandes færdigt Rhubarb-orange-chili-cheesecake - fyldet er færsigt og lagt på bunden Rhubarb-orange-chili-cheesecake - klar til gelé Rhubarb-orange-chili-cheesecake - klar til sidste skridt Rhubarb-orange-chili-cheesecake - den flotte gelé skal stivne Rhubarb-orange-chili-cheesecake - den færdige kage 1 Rhubarb-orange-chili-cheesecake - den færdige kage 2 Rhubarb-orange-chili-cheesecake - den færdige kage 3

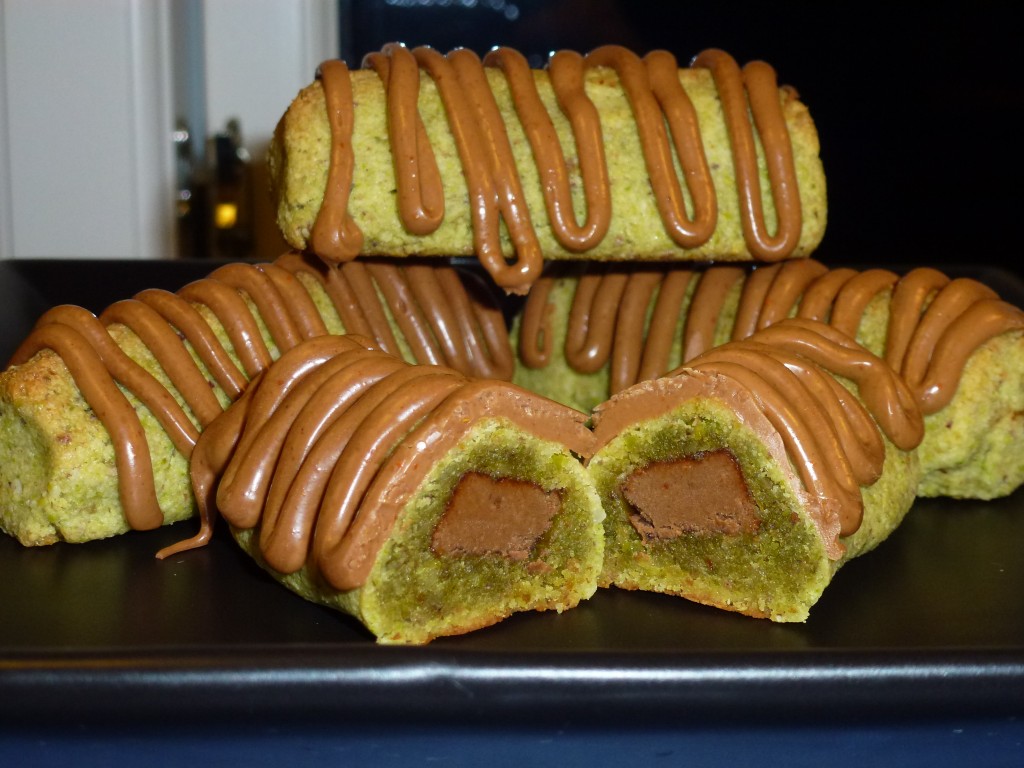
Homemade pistachio marzipan cake with chili-licorice-nougat (will be translated upon request)

Homemade pistachio marzipan cake with chili-licorice-nougat (will be translated upon request)

Ingredients:

300 g almonds

200 gr pistacienøddekerner, usaltede

3 – 4 bittermandler eller abrikoskerner

1 æggehvide

100 gr flydende glukose

200 gr blød nougat

as. 1 tsk chilipulver eller hakket frisk efter smag

2 – 2½ tsk engelsk lakridspulver (with small peak)

100 – 125 gr god chokolade til overtræk (light or dark aftertaste) – and possibly. a little chili and licorice powder


How to:

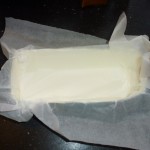
Rinse a milk carton and lay it down with the opening up. Cut the top third of (see image). Lining it with wax paper and hold it together with a clamp her where it was open.

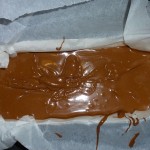
Melt the nougat water bath with hot pepper and liquorice. Season to taste if it is strong enough – remember that it must be inside the sweet cake, so it may take some kapow.

Pour the nougat in milk carton and let it freeze up again. I put it in the fridge.

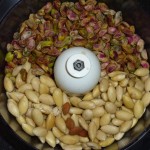
Meanwhile, you can prepare the almonds. Hæld kogende vand over og lad dem trække 2 minutter. Drain and came fresh boiling water over. Lad dem igen stå 2 minutter. Smut them if they are ready. If the skin is too real, så giv dem et nyt hold kogende vad i 2 minutter. Tonsils popped easiest if you just pour a little water from, such that the top almonds in the bowl is free from water, but the ones downstairs are covered. As you come into the bowl pour a little water from time to time.

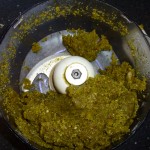
Getting the almonds in the food processor along with pistacienøddekernerne and bitter almond / apricot kernels. Run them to a medium coarse meal. Add the egg white and glucose and run again for a marcipandej shapes itself. There'll stop and scrape down the sides a few times along the way.

Take the marzipan out of the food processor and knead it through on the kitchen table. Wrap it in film and place it in the refrigerator until you are ready to bake. Preferably at least a few hours.

Nougaten skæres i 16 lige store stykker.

Marcipanen deles også i 16 klumper. You can use. a weight. Vej den store klump og divider med 16 og vej hver lille klump af (they would like to weigh about. 40 gram hver). They are also great with baked when they are about. equal, so weighing is a good idea.

Rul hver klump til en pølse som er 1 cm længere end nougatstykkerne. Pressure sausages flat, put nougat and marzipan close nicely together nougat. Shape each piece into a slightly rounded triangle shape with your fingers – or make them slightly curved if you better like it. Make sure there is closed with marzipan around the nougat.
Læg stykkerne på bagepapir som er lagt på 2 bageplader som er lagt oven på hinanden (it does always with cake not to get them too dark at the bottom).

Forvarm ovnen til 225 grader og bag stykkerne ca. 8 – 10 minutes. Keep a close eye on them. They must be light brown, but not more than the.
Let them cool completely on the baking sheet without touching them. They are soft when they are hot.
When they have cooled, Loosen the from the baking paper, but being on this.

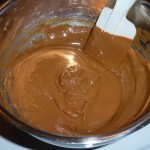
Temperér chokoladen – see . little about chocolate – and charge the Køle of consistency as a thick glaze. Remember to scrape the down the sides of the bowl during cooling, so that it does not coagulate the.

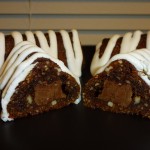
Make the chocolate in a small freezer bag as you cut a very small corner of. Use the bag as a piping bag and got chocolate in pieces in zigzag stripes or whatever suits you.

Let the chocolate harden completely before removing the pieces from the baking paper.


Tips:

If the cake mass is not sweet enough for your taste (remember that there will nougat in) – then you can knead a little powdered sugar in the. Use a tiny bit of cold water if it becomes too dry – or slightly more glucose if you want to stick with it. The version here is not very sweet in itself.

You do not temper the chocolate if you do not bother – but it is always great looking.

Of course you can get icing on your cake pieces if you'd rather have it – you could possibly. see how the pattern with the traditional cake pieces.

In the picture I have made double portion nougat – I needed something in common noises pieces also. Your will thus be half as thick.

If your fingers stuck in when working with marzipan eventually, rinse your hands in between. It is easiest with clean hands and they are allowed to be dampened slightly with cold water if it goes easier for you.

I use milk chocolate in these – melted with a little chilli and licorice powder like nougat'en. Chokoladen køles af under omrøring og nedskrabning fra siderne hvert 3-4 minut, until one can shape the small peaks in the above as being. Then the temperate fine and has the right consistency.

Homemade pistachio marzipan cake with chili-licorice-nougat (will be translated upon request) - Ingredients Homemade pistachio marzipan cake with chili-licorice-nougat (will be translated upon request) - glemte lakridsen på første billede Homemade pistachio marzipan cake with chili-licorice-nougat (will be translated upon request) - mælkekarton klar Homemade pistachio marzipan cake with chili-licorice-nougat (will be translated upon request) - og foret med bagepapir Homemade pistachio marzipan cake with chili-licorice-nougat (will be translated upon request) - nougaten skal stivne i formen Homemade pistachio marzipan cake with chili-licorice-nougat (will be translated upon request) - mandler og nødder Homemade pistachio marzipan cake with chili-licorice-nougat (will be translated upon request) - blendet mellemfint Homemade pistachio marzipan cake with chili-licorice-nougat (will be translated upon request) - klar til æltning på køkkenbordet Homemade pistachio marzipan cake with chili-licorice-nougat (will be translated upon request) - marcipanen er færdig og skal på køl Homemade pistachio marzipan cake with chili-licorice-nougat (will be translated upon request) - efter et par timer på køl Homemade pistachio marzipan cake with chili-licorice-nougat (will be translated upon request) - nougaten skæres ud - her dobbelt portion Homemade pistachio marzipan cake with chili-licorice-nougat (will be translated upon request) - kransekagestykkerne formes Homemade pistachio marzipan cake with chili-licorice-nougat (will be translated upon request) - ready for eating Homemade pistachio marzipan cake with chili-licorice-nougat (will be translated upon request) - chokoladen er klar Homemade pistachio marzipan cake with chili-licorice-nougat (will be translated upon request) - det går nemt med en lille fryspose Homemade pistachio marzipan cake with chili-licorice-nougat (will be translated upon request) - klip ført lidt af den plastik som sidder i vejen af og derefter et lille hul Homemade pistachio marzipan cake with chili-licorice-nougat (will be translated upon request) - nu med chokolade


Have also tried me with a version of the same age, men kransekagen er lavet af 4 abrikoskerner, 250 gr mandler med skind, 250 gr valnødder, ca 200 gr rå rørsukker, 1 æggehvide og chililakridssirup til massen har en god, haemorrhage consistency. They are slightly sticky to shape – but it goes.

It was very different, but really delicious. Syrups gave it a lot Smag going forrygende with valnøderne and nougat'en – an almost malty flavor, which together with the color and texture is reminiscent slightly toward rye bread – the absolutely most delicious way. A variant sjov – in my version is not so sweet – and therefore will actually go really well with a champagne.
Lavet på lakriddsirup og med valnødder

Honey cakes with chili

English here: Honey cakes with chili

Honey cakes with chili

Ingredients:

450 gr honey

225 gr Muscovado sugar

250 gr butter

8 eggs

500 gr flour

3 teaspoon baking powder

6 – 8 teaspoons chili powder, mild-medium or chopped fresh chili to taste

4 teaspoon ground ginger

2 teaspoons ground cinnamon

2 teaspoon ground allspice

1 teaspoon ground cloves

1 – 3 glasses abricot jam – preferably homemade (or orange jam) – I use about. 8 dl

Nice, dark chocolate

How to:

Melt the honey on a low heat and let it cool down to room temperature.
Whisk butter and muscovado well and add honey.
Add the eggs one at a time and whisk between each.

Sift the dry ingredients together and fold them into the dough.

Put the dough into two greased springforms – or a square form lined with baking paper. I use a square shape form of approximately 30 x 37 cm.

Bake in preheated oven for. one hour at 150 degrees celsius.

Allow it to cool slightly in the form, before you take it out.

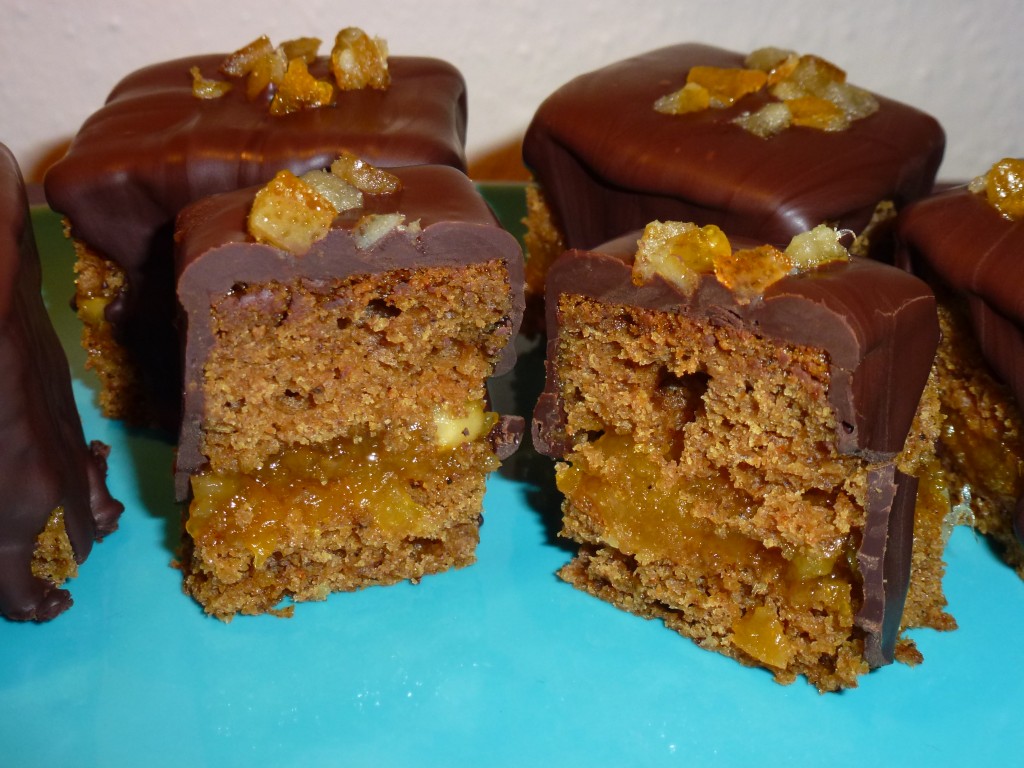
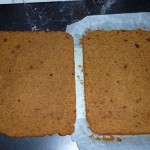
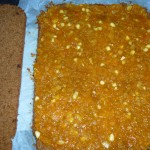
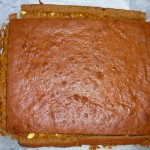
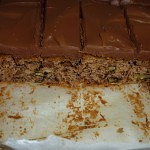
When it is completely cooled of, split it in two layers and a thick layer of abricot jam is spread out between the layers. The cake can easily be covered and wait for the day after, before you split it and add the jam. I think it is easiest to split the cake with a bread knife.

When the jam has been added, let the cake rest for half an hour – so the jam 'sets’ themselves. In the meantime, you can. temper the chocolate if you like. You don't need to temper the chocolate, but if you know how, then it makes a delicious surface and gives a nice 'crunch' when you bite of the cake. see also. little about chocolate.

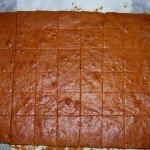
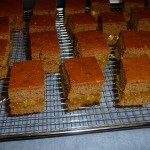
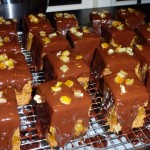
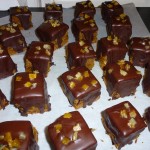
The cake is cut into squares that are being coated with (tempered) chocolate. The cake can also be coated as a whole. If you use a chocolate rack to coat the cake on, then move the cakes again relatively quickly, so that it does not stick to the grid when the chocolate sets. If you areto the 'art' of using chocolate rack, then only coat 8 – 10 pieces at a time.

You can decorate them using for instance. candied orange peel before the chocolate hardens.

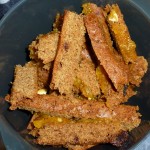
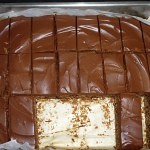
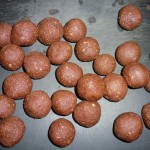
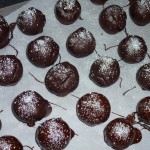
If you cut the cake into squares, so first cut the edge of the cake nice and clean. The pieces that you cut of, you can just make a handful of delicious chocolate chili truffle balls with: crumble cake pieces well and mix them with a little jam and cocoa powder – knead well together and form truffles which are rolled in a little desiccated coconut. They may also be coated with melted chocolate before they are rolled in the coconut.

Note:

If you would like to also have white butter cream in your honey cakes – then whisk 250g butter and 150g icing sugar and vanilla grains from one pod (or the equivalent of other vanilla product). Spread on one part of the cake and jam on the other and put them together.

Honey cakes with chili  - Ingredients Honey cakes with chili  - leave Honey cakes with chili  - ready for oven Honey cakes with chili  - færdigbagt Honey cakes with chili  - kagen flækkes Honey cakes with chili  - der smøres marmelade på Honey cakes with chili  - kanterne skæres fri Honey cakes with chili  - snulderet gemmes til romkugler Honey cakes with chili  - snitterne skæres ud Honey cakes with chili  - klar til chokoladeovertræk Honey cakes with chili  - nyovertrukne Honey cakes with chili  - finished


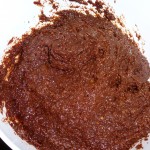
Remember that any honey cake leftovers are super for making truffles of – mix them with a little good until the consistency of thick cake batter, see proposals in the picture below. Roll them into balls ine – tril if necessary. in cocoa powder and store them in the fridge. They can also be rolled in – is cooled for a few hours and is coated with chocolate. Yum.

Rester til trøfler Rester til trøfler - massen Trøfler af honningkagerne Trøfler af honningkagerne 2